How to Deploy Z-Image Locally: Complete ComfyUI Setup Guide (2025)
Looking to deploy Z-Image locally on your machine? This comprehensive guide walks you through the complete Z-Image local deployment process using ComfyUI. Whether you're on Mac M1 or Windows, you'll have your private AI image generation tool running in just 5 steps.
Why Deploy Z-Image Locally?
Alibaba's open-source Z-Image model offers impressive image generation quality comparable to Nano Banana Pro, but with only 6B parameters. Local deployment of Z-Image provides:
- ⚡ Fast Generation Speed: Optimized for consumer hardware
- 💾 Low Resource Usage: Only 21GB storage required
- 🎨 High-Quality Output: Professional-grade image generation
- 🔒 Privacy: Your prompts and images stay on your device
Z-Image Local Deployment: System Requirements
Before starting your Z-Image local installation, verify your system meets these requirements:
Tested Environment
- Hardware: Mac M1 Max with 64GB RAM
- Software: ComfyUI Desktop
- Storage: 21GB free space for models
Minimum Requirements
According to ComfyUI system requirements:
- RAM: 16GB minimum (32GB+ recommended)
- GPU: Apple Silicon M1/M2/M3 or NVIDIA GPU with 8GB+ VRAM
- Storage: 25GB free space
- OS: macOS 12+, Windows 10+, or Linux
💡 Pro Tip: Check these requirements before starting to avoid deployment issues with Z-Image local setup.
Step 1: Download ComfyUI for Z-Image Deployment
ComfyUI Desktop has simplified the Z-Image installation process significantly. No complex Python environments needed!
Download ComfyUI
Visit the official ComfyUI download page and select your platform:
- macOS (Apple Silicon or Intel)
- Windows (GPU or CPU)
- Linux
The ComfyUI Desktop application includes everything needed for Z-Image local deployment.
Step 2: Download Z-Image Models (21GB Total)
For successful Z-Image local installation, you need three model files:
1. Text Encoder (Qwen 3 4B)
# Download to: ComfyUI/models/text_encoders/
https://huggingface.co/Comfy-Org/z_image_turbo/resolve/main/split_files/text_encoders/qwen_3_4b.safetensors
2. Diffusion Model (Z-Image Turbo BF16)
# Download to: ComfyUI/models/diffusion_models/
https://huggingface.co/Comfy-Org/z_image_turbo/resolve/main/split_files/diffusion_models/z_image_turbo_bf16.safetensors
3. VAE (Autoencoder)
# Download to: ComfyUI/models/vae/
https://huggingface.co/Comfy-Org/z_image_turbo/resolve/main/split_files/vae/ae.safetensors
Model File Organization
Place downloaded files in the correct ComfyUI directories:
ComfyUI/
├── models/
│   ├── text_encoders/
│   │   └── qwen_3_4b.safetensors
│   ├── diffusion_models/
│   │   └── z_image_turbo_bf16.safetensors
│   └── vae/
│       └── ae.safetensors
📦 Storage Note: Total download size is approximately 21GB. Ensure sufficient disk space for Z-Image local deployment.
Step 3: Download Z-Image Workflow Configuration
The Z-Image ComfyUI workflow is pre-configured for optimal performance:
Get the Official Workflow
Visit the Z-Image Turbo documentation to download the workflow JSON file.
This workflow includes:
- Optimized node connections
- Proper model loading sequences
- Recommended generation parameters
- Sample prompts for testing
Step 4: Configure Z-Image Model Paths in ComfyUI
After downloading models for Z-Image local installation:
- Launch ComfyUI Desktop
- Load the Z-Image workflow (drag & drop the JSON file)
- Verify model paths in each node:
- Text Encoder node →
qwen_3_4b.safetensors - Diffusion Model node →
z_image_turbo_bf16.safetensors - VAE node →
ae.safetensors
- Text Encoder node →
If models don't appear in dropdowns, check file locations match the directory structure above.
Step 5: Start Generating Images with Z-Image
Your Z-Image local deployment is complete! Time to create stunning images:
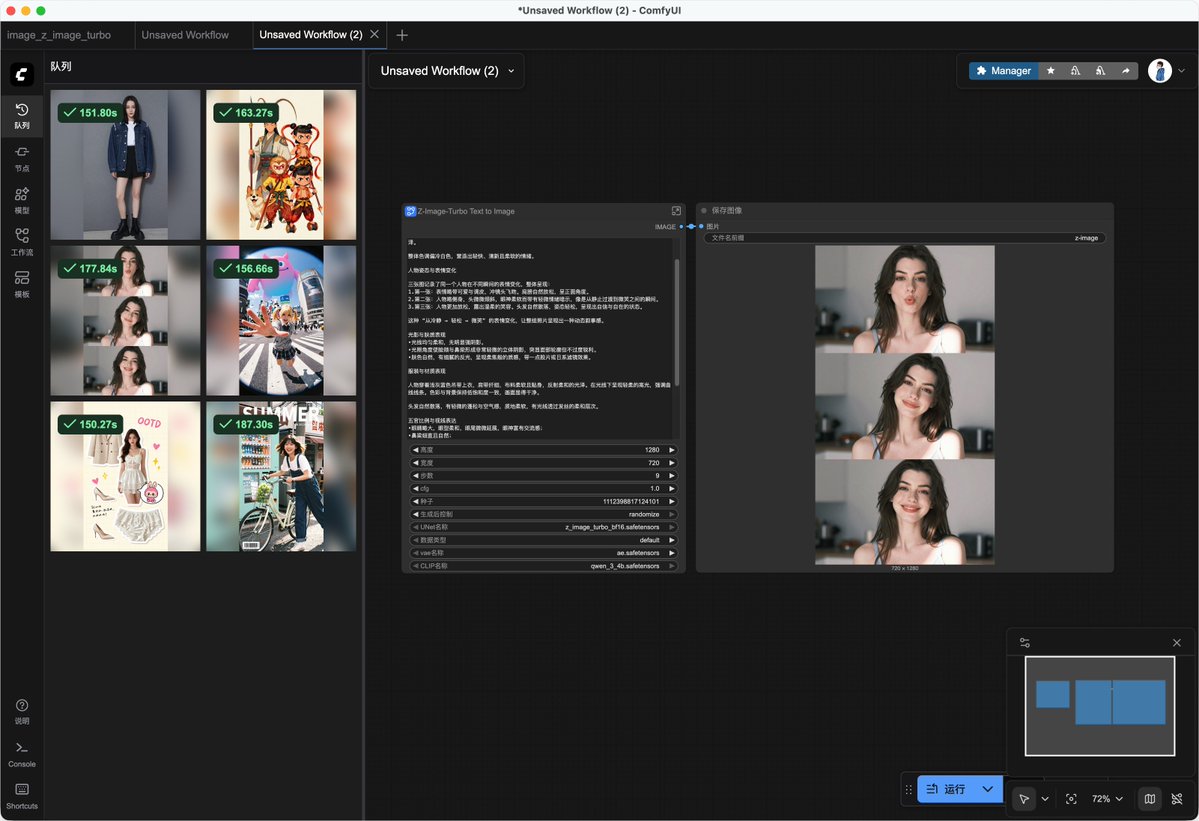
Basic Generation Workflow
- Enter your prompt in the text input node
- Set generation parameters:
- Steps: 8-12 (Turbo optimized)
- CFG Scale: 3.5-7.0
- Resolution: 1024x1024 or custom
- Click "Queue Prompt" to start generation
- View results in the output panel
Example Prompts for Testing
Try these prompts to test your Z-Image local setup:
Photorealistic Portrait
A magazine cover of a stylish 20-year-old Chinese woman with bob-cut hair,
casually leaning against a teal tram in a quiet early-morning street market.
She wears a cream knit sweater and pleated skirt. Professional photography,
natural lighting, 8k quality.
Camera Shot Experiments
Close-up macro shot of a dewdrop on a rose petal, shallow depth of field,
golden hour lighting, professional photography
Miniature World Scenes
A realistic photo of a miniature winter village with snow covered roofs
and small figures ice skating on a frozen pond, tilt-shift photography
Creative Styles
X-ray style rendering of a flower, transparent petals showing internal structure,
scientific visualization, high contrast, monochrome
💡 Want to see more examples? Check out our Use Cases page for detailed prompt examples and visual results.
Z-Image Local Deployment: Performance Tips
Optimize your Z-Image local installation for best results:
Speed Optimization
- Use Turbo Model: 8 steps provide excellent quality/speed balance
- Batch Generation: Generate multiple variations simultaneously
- Resolution: Start with 1024x1024, scale up as needed
Quality Enhancement
- Prompt Engineering: Use detailed, specific descriptions
- CFG Scale: Higher values (6-8) for more prompt adherence
- Negative Prompts: Exclude unwanted elements
Resource Management
- Close Background Apps: Free up RAM during generation
- Monitor Temperature: Ensure adequate cooling for sustained use
- Model Caching: Keep frequently used models loaded
Troubleshooting Z-Image Local Setup
Common issues with Z-Image deployment and solutions:
Models Not Loading
- Check file paths: Ensure models are in correct directories
- Verify downloads: Re-download corrupted files
- Restart ComfyUI: Refresh model cache
Out of Memory Errors
- Reduce resolution: Try 768x768 instead of 1024x1024
- Lower batch size: Generate one image at a time
- Close other apps: Free up system RAM
Slow Generation Speed
- Update drivers: Ensure latest GPU drivers installed
- Check CPU usage: Close resource-intensive background processes
- Optimize workflow: Remove unnecessary nodes
Advanced Z-Image Local Deployment Features
Take your Z-Image local installation further:
Custom Workflows
- ControlNet Integration: Add pose/depth control
- LoRA Models: Fine-tune for specific styles
- Upscaling: Integrate with upscaler models
Batch Processing
- Queue Management: Process multiple prompts overnight
- Automation Scripts: Streamline repetitive tasks
- Output Organization: Auto-sort generated images
Conclusion: Your Z-Image Local Deployment Journey
Congratulations! You've successfully completed Z-Image local deployment using ComfyUI. With just 21GB of models and 5 simple steps, you now have a powerful AI image generation tool running privately on your machine.
Key Takeaways
✅ Z-Image local installation is straightforward with ComfyUI Desktop
✅ Only 6B parameters needed for professional-quality results
✅ Fast generation with optimized Turbo model
✅ Complete privacy - all processing happens locally
Next Steps
- Experiment with different prompts and styles
- Join the Z-Image community for tips and workflows
- Explore advanced features like ControlNet and LoRA
Try Z-Image Online First
Not ready for local deployment? Try Z-Image-Turbo online to experience the quality before installing locally.
Frequently Asked Questions
Q: How much storage does Z-Image local deployment require?
A: Approximately 21GB for all three model files (text encoder, diffusion model, and VAE).
Q: Can I run Z-Image on Windows?
A: Yes! Z-Image local installation works on Windows with NVIDIA GPUs (8GB+ VRAM recommended).
Q: Is Z-Image local deployment free?
A: Yes, Z-Image is open-source. You only need to download ComfyUI and the model files.
Q: How does Z-Image compare to FLUX for local deployment?
A: Z-Image requires less VRAM (6B vs 12B parameters) while maintaining comparable quality. Read our Z-Image vs FLUX comparison.
Ready to deploy Z-Image locally? Follow this guide and start creating stunning AI images on your own hardware today!
Acknowledgments
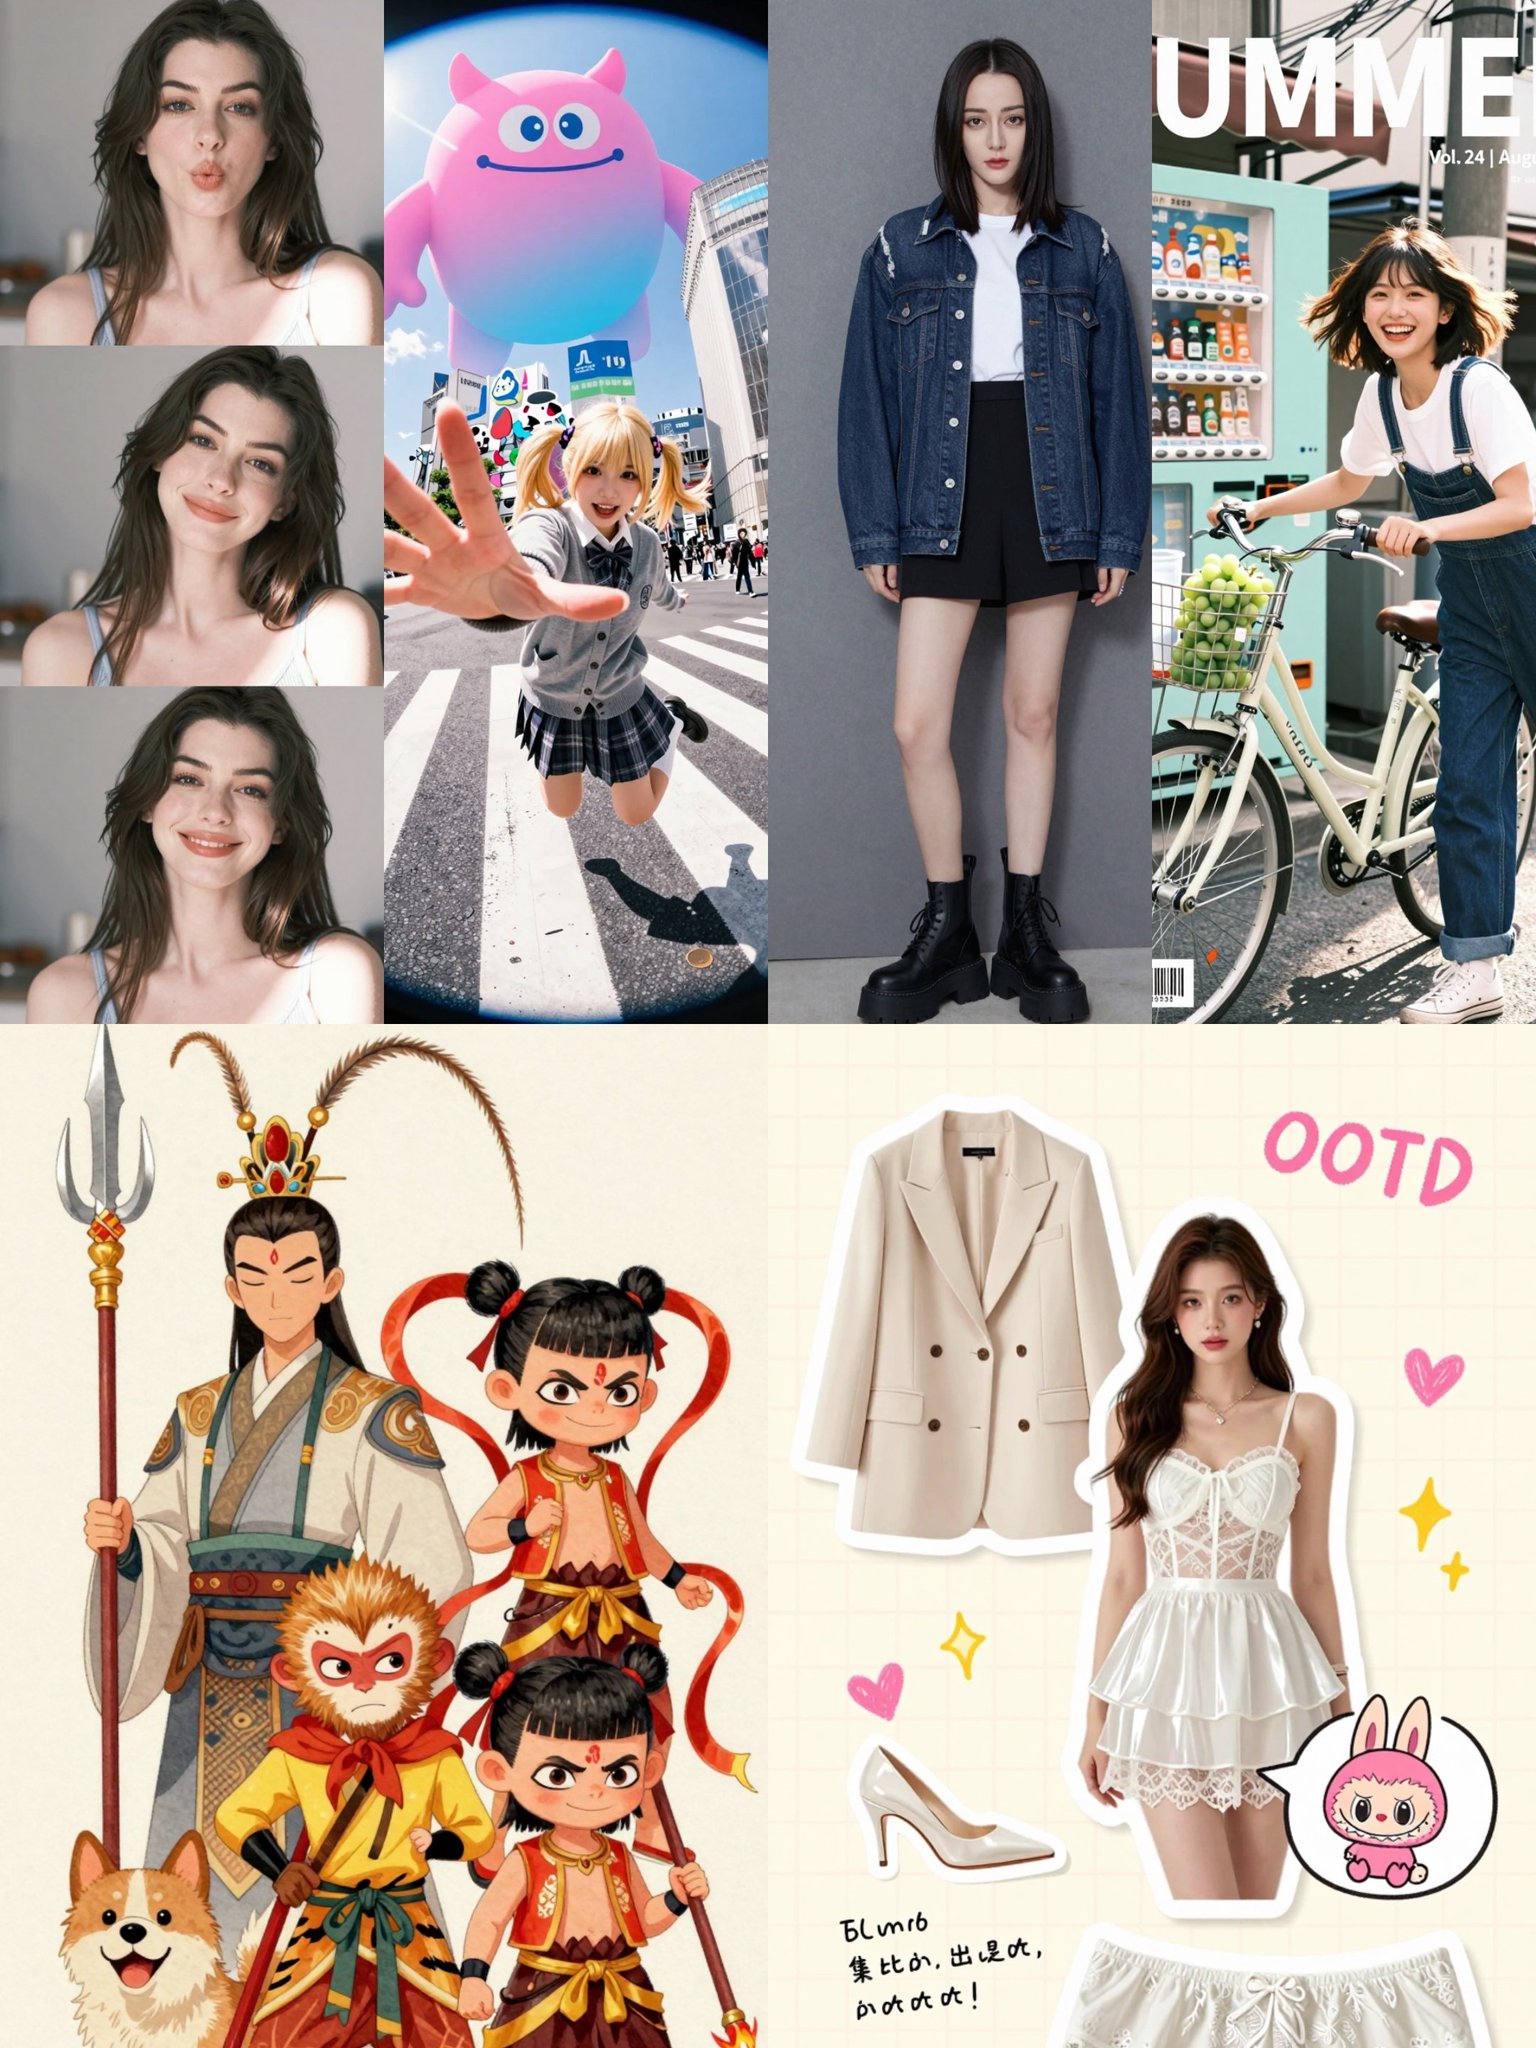
Special thanks to the community members who shared their Z-Image workflows and prompts:
- @dotey
- Photorealistic portrait techniques
- @songguoxiansen
- Camera shot experiments
- @ZHO_ZHO_ZHO
- Advanced workflow optimization
- @KusoPhoto
- Creative prompt engineering